
How to Pack Glasses for Moving: A Step-by-Step Guide

To pack glasses for moving safely, follow four tips: wrap each item individually, cushion the bottom of the box, stand everything upright, and fill empty spaces. Before you start, go through your kitchen inventory and sort glassware into categories (everyday tumblers, stemware, crystal, cups) – this simple sorting step makes the whole process faster and prevents mixing delicate pieces with heavy ones.
Get the packing materials ready – a small cardboard box (45 × 30 × 30 cm) holds 12-18 items, so a typical 4-person kitchen needs 3-5 moving boxes and 30-45 minutes to pack. Breakage accounts for roughly 20-25% of moving house damage claims, and correct packing cuts that risk to under 2%.
Packing Materials Checklist
Packing glasses starts with 7 packing materials to pack fragile items for moving house safely – packing paper (1 kg roll per 30 items), bubble wrap for delicate glassware, small or medium moving boxes, 50 mm packing tape, packing peanuts or crumpled paper, box dividers, and a marker pen.
Leaving fragile items on the worktop while you hunt for tape is the most common cause of drop breakage during the process.
- Packing paper – plain, unprinted sheets, ~50 × 75 cm; always preferred over newspaper, which transfers ink onto glassware and etches crystal over time
- Tissue paper – optional inner layer for gold-rimmed or hand-painted items, softer than newsprint
- Bubble wrap, foam sheets, or polyethylene foam pouches – ideal for extra-delicate items; use small-bubble (10 mm) for wine glasses and stemware, large-bubble (25 mm) for decanters and plates
- Cardboard box options – small (45 × 30 × 30 cm) or medium (50 × 40 × 40 cm) single-wall moving boxes for everyday drinking glasses
- Double-wall dishpack (~150 litres, 450 gsm corrugated) – the extra wall layer provides stronger shock absorption than single-wall boxes and is the right choice for crystal, fine china, and antiques
- Packing tape – high-quality, 50 mm wide, minimum 40 micron thickness
- Packing peanuts or crumpled paper – for the base cushion and gap-fill
- Box dividers or cell kit – cardboard inserts creating 12 or 24 compartments, eliminating the contact that causes 70-80% of chips in transit
- Marker pen – permanent, chisel-tip, to mark every box
💡 Packing Tip: No packaging materials at hand? Clean tea towels, cotton T-shirts, or cloth napkins work as excellent soft padding for everyday items — and you pack your linens at the same time.
Note: Do not use fabric for crystal or lead glass, as textiles compress unevenly and can leave pressure points.
Step 1: Choose the Right Cardboard Box and Prepare the Base
Use small or medium single-wall moving boxes (45 × 30 × 30 cm or 50 × 40 × 40 cm) for everyday glassware and a double-wall dishpack for crystal. Reinforce the base with two crossed strips of tape along the seams, then add a thick layer – 5-8 cm at the bottom of the box. A packed box should weigh under 15 kg. Heavier moving containers increase drop risk when the removal team starts to pack the van.
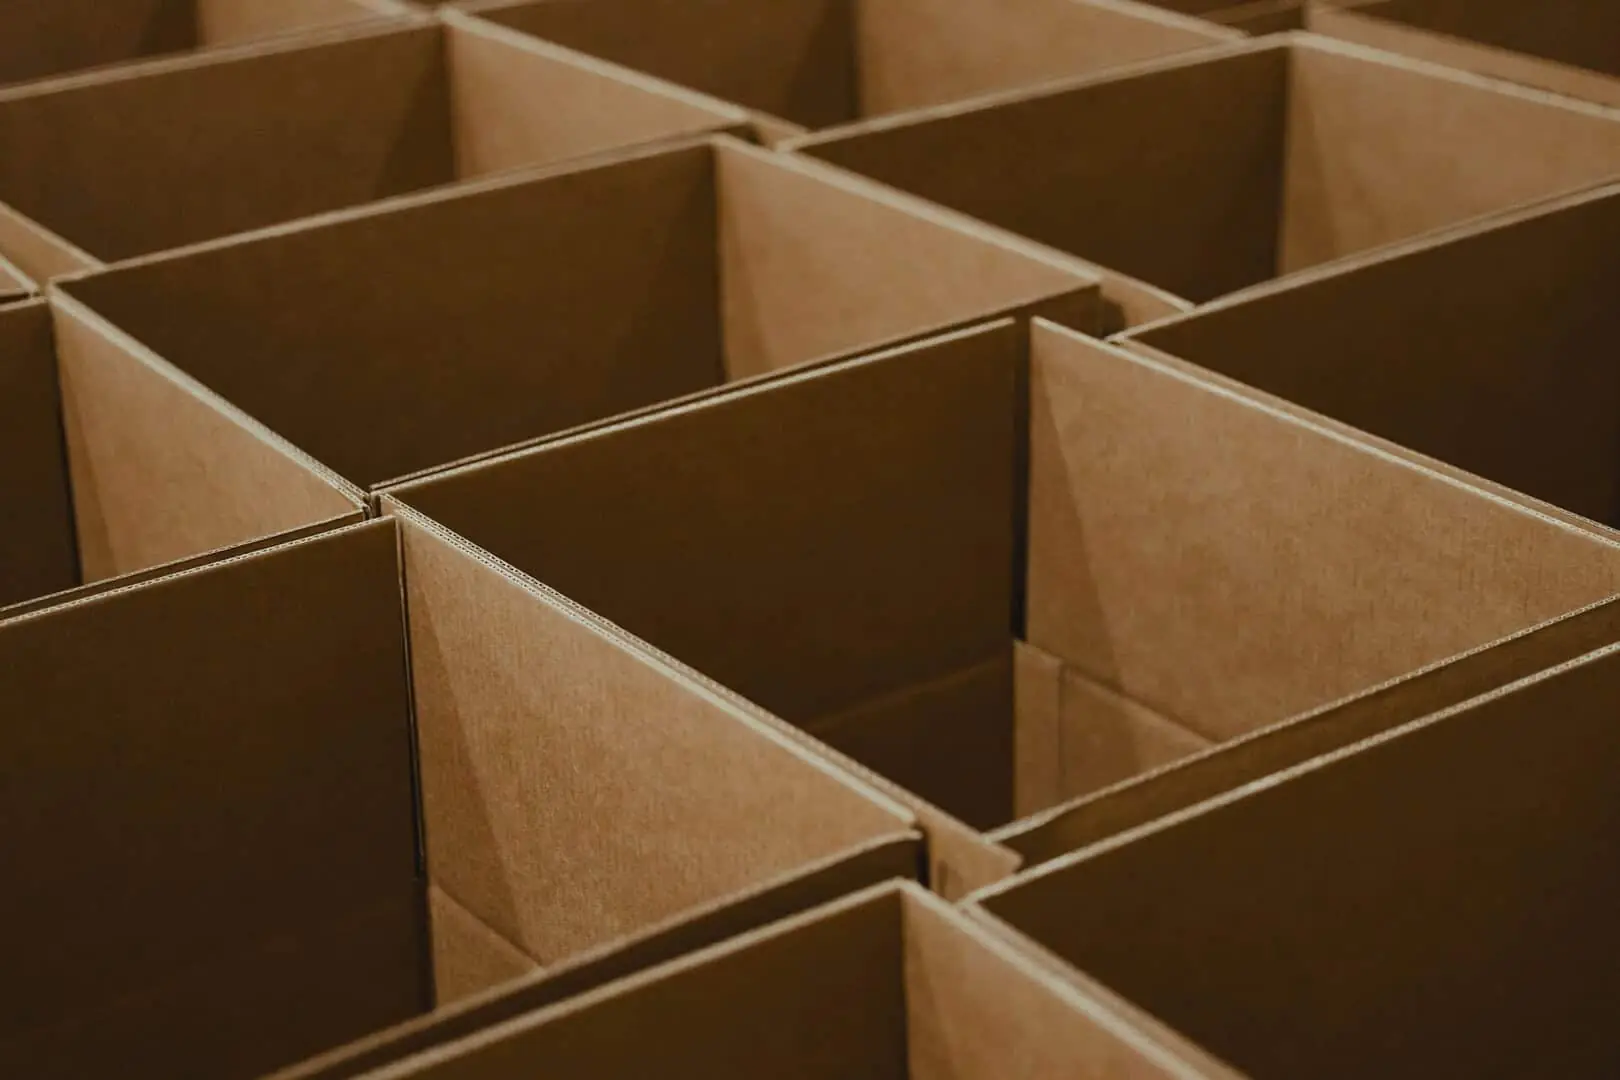
Picking the right cardboard box:
- Standard small or medium moving box – stick with medium rather than large boxes: once packed, a large box becomes too heavy and awkward to carry safely, which is when drops happen. Medium suits everyday tumblers, cocktail glasses, mugs, plates, and highballs (200-500 ml)
- Double-wall dishpack (150-170 litres) – for crystal (Bohemia, Waterford, Riedel), fine china, and any move to a new house over 200 km away, where boxes spend 4+ hours on the road
- Reused boxes – fine if clean, dry, and free of soft spots, crushed corners, or old tape residue on the seams
Reinforce the base with two high-quality tape strips across the main seam in an H-pattern, adding extra strips over the central joint where the weight concentrates. A single strip carries roughly 8-10 kg before the seam splits – not enough for a full load of glassware.
Cushion first: place a protective layer of packing peanuts or crumpled paper across the entire base, 5-8 cm deep. This extra layer absorbs the vertical shocks from loading, braking at 0.3-0.5 g, and unloading onto hard surfaces at your new home.
For stemware, slot a cardboard cell kit (12 or 24 compartments) into the box before you start to pack – or reuse a supermarket wine case, which comes with the same compartment structure already built in. Each cell isolates one piece of glassware and helps protect rims and stems from contact.
Step 2: Wrap Each Item Individually
Pack every glass on its own – never bundle two together – using 2-3 sheets for everyday tumblers and bubble wrap plus paper for stemware, crystal, and champagne flutes.
Always pack the stem or handle first in a separate piece, because those parts snap before bowls crack. Sort your collection by similar sizes so you can carefully pack similar weights together before packing fragile items into the box.
- Everyday glasses and mugs (tumblers, highballs, rocks, beer steins): Sort by similar sizes, then place the item on one corner of a sheet and roll it diagonally, tucking the paper ends as you go, until the piece is completely covered. Fold the remaining flap into the open end. Use 2-3 turns per item.
- Wine glasses and stemware (Bordeaux, Burgundy, universal): Tuck packing paper inside the bowl to cushion the interior. Pack the stem first with a strip of bubble film, then roll the whole piece in one full sheet of paper, tucking all edges – the double layer of bubble plus paper gives noticeably better impact absorption than paper alone on very delicate stems. Once packed, position wine glasses mouth-down in the box: the base ring is the strongest part of the glass and takes the shock far better than the fragile rim. For crystal (lead content 24-30%) or particularly delicate glassware, use 3-5 turns.
- Champagne flutes and coupes: Use the same stem treatment as wine glasses, but the narrow bowl (wall thickness 0.8-1.2 mm) needs extra protection – 3 sheets, or 1 sheet plus a single turn of small-bubble film.
- Cocktail glasses and martini bowls: Pack like wine glasses – wrap the stem first, then the bowl. The wide open rim is the weak point; tuck paper inside before the outer turn.
- Decanters and carafes: Stuff paper into the neck to support it from within, then cover the body in bubble film. Pack the stopper on its own so it cannot press against the lip.
- Teacups (bone china, porcelain, glass): Pack the handle first with tissue paper – handles break first in about 50% of cup damage. Then cover the whole cup in a full sheet.
Paper or bubble wrap?
Packing paper is lighter and recyclable but needs 2-4 sheets per piece. A 10 mm bubble film gives stronger cushioning in one pass and is the better choice for crystal, antiques, or moves over 200 km. For valuable pieces, combine both to protect the surface and absorb impact.
Step 3: Pack Glasses Into the Box
Pack glasses upright on the base and never stack them on their sides – put the heaviest items (mugs, thick tumblers) at the bottom of the box and lighter fragile items on top. A small box holds 12-18 items; a medium box with dividers takes up to 24 stemware pieces. Pack wine glasses in one row only and fill empty spaces so nothing shifts more than 2-3 mm in transit.
Loading order when packing glasses for moving:
- Place the heaviest items (pint mugs, thick tumblers, beer steins) first, directly on the cushion at the base
- Add lighter pieces (wine glasses, tumblers under 300 ml) around and on top
- Pack wine glasses, champagne flutes, and crystal in one row – never stack glasses when they are fragile
How many per box? A small moving box holds 12-18 wrapped items. A medium box fitted with a cell kit takes up to 24 stemware pieces. Do not overfill – an overpacked container is harder to pack safely and slower to unpack at the other end.
Pack each piece snugly so it cannot shift. Items that move in transit knock into each other and chip along the rim – that glass clicking sound in the van is the early sign of damage. Tuck paper into every gap between glasses and the sides of the box – any unfilled space lets items slide during braking or cornering.
When a row is complete, add 3-5 cm of paper on top before starting the next one. Before sealing the lid, add a final layer of crumpled paper across the top of the glasses to protect them from overhead pressure when other boxes are stacked on top in the van.
Step 4: Seal, Label, and Load
Seal the box with two crossed strips of tape matching the base pattern, label at least two sides “FRAGILE” and all four sides “THIS SIDE UP” with an upward arrow, and load the box on top of heavier belongings in the van – never underneath. Keep it away from the tailgate, where jolts and sudden movements peak. The process ends with a weight check: under 15 kg is safe for one person to carry into the new home.
Check weight first. Lift the load before you seal it. If it feels too heavy to carry safely to the new destination, take out a few pieces and pack a second box. Overloaded containers (over 20 kg) are dropped roughly 3× more often than correctly weighted ones.
Seal the top with two crossed strips across the seams, matching the H-pattern on the base.
Label every box clearly:
- “FRAGILE – Glasses” on at least two sides in red or black marker, minimum 5 cm letter height
- “THIS SIDE UP” with an upward arrow on all four sides – this stops the box travelling upside down
- Destination room (“Kitchen”, “Dining Room”, “Bar”) so the removal team knows where each one goes
Where to position the load in the van: pack glass boxes on top of heavier, sturdier belongings (books, kitchenware, tools) – never underneath. Keep them away from the tailgate, where vertical jolts peak when the doors open and close. Gently shake any box that rattles – if you hear movement, open it and add more paper to protect the contents before the van leaves. Wedge each one between softer items such as mattresses, sofa cushions, or duvet bags to limit lateral movement during the journey to your new home.

How to Pack Glasses for Moving – Common Questions
Upright in nearly all cases. Standing a glass on its base channels weight through the strongest point – the foot or base ring – and keeps stress off the rim and stem. Thick-walled mugs and pint glasses can lie on their side if space is tight, but wine glasses, champagne flutes, teacups, and crystal stemware must stand vertically. This single rule makes all the difference on a long-distance move.
Packing paper works for everyday items (2-4 sheets per piece); bubble wrap is better for wine glasses, crystal, and antiques because one 10 mm pass absorbs more impact than three sheets of paper. For maximum protection on valuable pieces, combine both – paper as the inner wrap, bubble film on the outside. The paper also keeps the bubbles from leaving marks on soft crystal surfaces.
Use clean tea towels, cotton T-shirts, socks, or cloth napkins as wrapping for everyday glasses – they cushion well and let you pack textiles at the same time. For delicate glassware (wine glasses, champagne flutes, crystal), pair fabric with bubble wrap around the stem for a two-part system. Avoid old newspapers (ink transfer) and plastic bags (no cushioning, traps moisture).
Four tips prevent breakage: wrap each piece individually, cushion the base with 5-8 cm of paper, pack upright with the heaviest at the bottom, and fill every gap. Label every container “FRAGILE” and “THIS SIDE UP”, and load them on top of heavier items in the van. For collections over 50 pieces or valuable sets (crystal, antique, inherited), a professional removals firm with a full packing service cuts breakage to under 1% and speeds up unpacking at the other end.
Wrap each fragile piece individually in paper or bubble wrap and secure with a 5 cm strip of tape so the wrapping cannot unravel. For wine glasses and flutes, wrap the stem separately first with a dedicated strip, then wrap the first glass in one sheet and continue through the collection. Place everything in a container with a cell kit or dividers – the first layer of compartments keeps each piece isolated and prevents the rim-to-rim contact that causes most chips in transit.
Need Help? Let Professional Packers Handle It
Hire a removals firm with a full packing service if you have more than 50 pieces, valuable crystal, or limited time before moving house – professional packers cut breakage to under 1% versus 5-10% for DIY. W & W Movers supplies all the right materials and handles transport end-to-end so your glassware arrives intact at the new house.
Ready for a stress-free move?
Get a free, no-obligation quote for your move today.
[📞 Call Us](tel:+4402032821582) [✉️ Write to Us](/contact-us/)